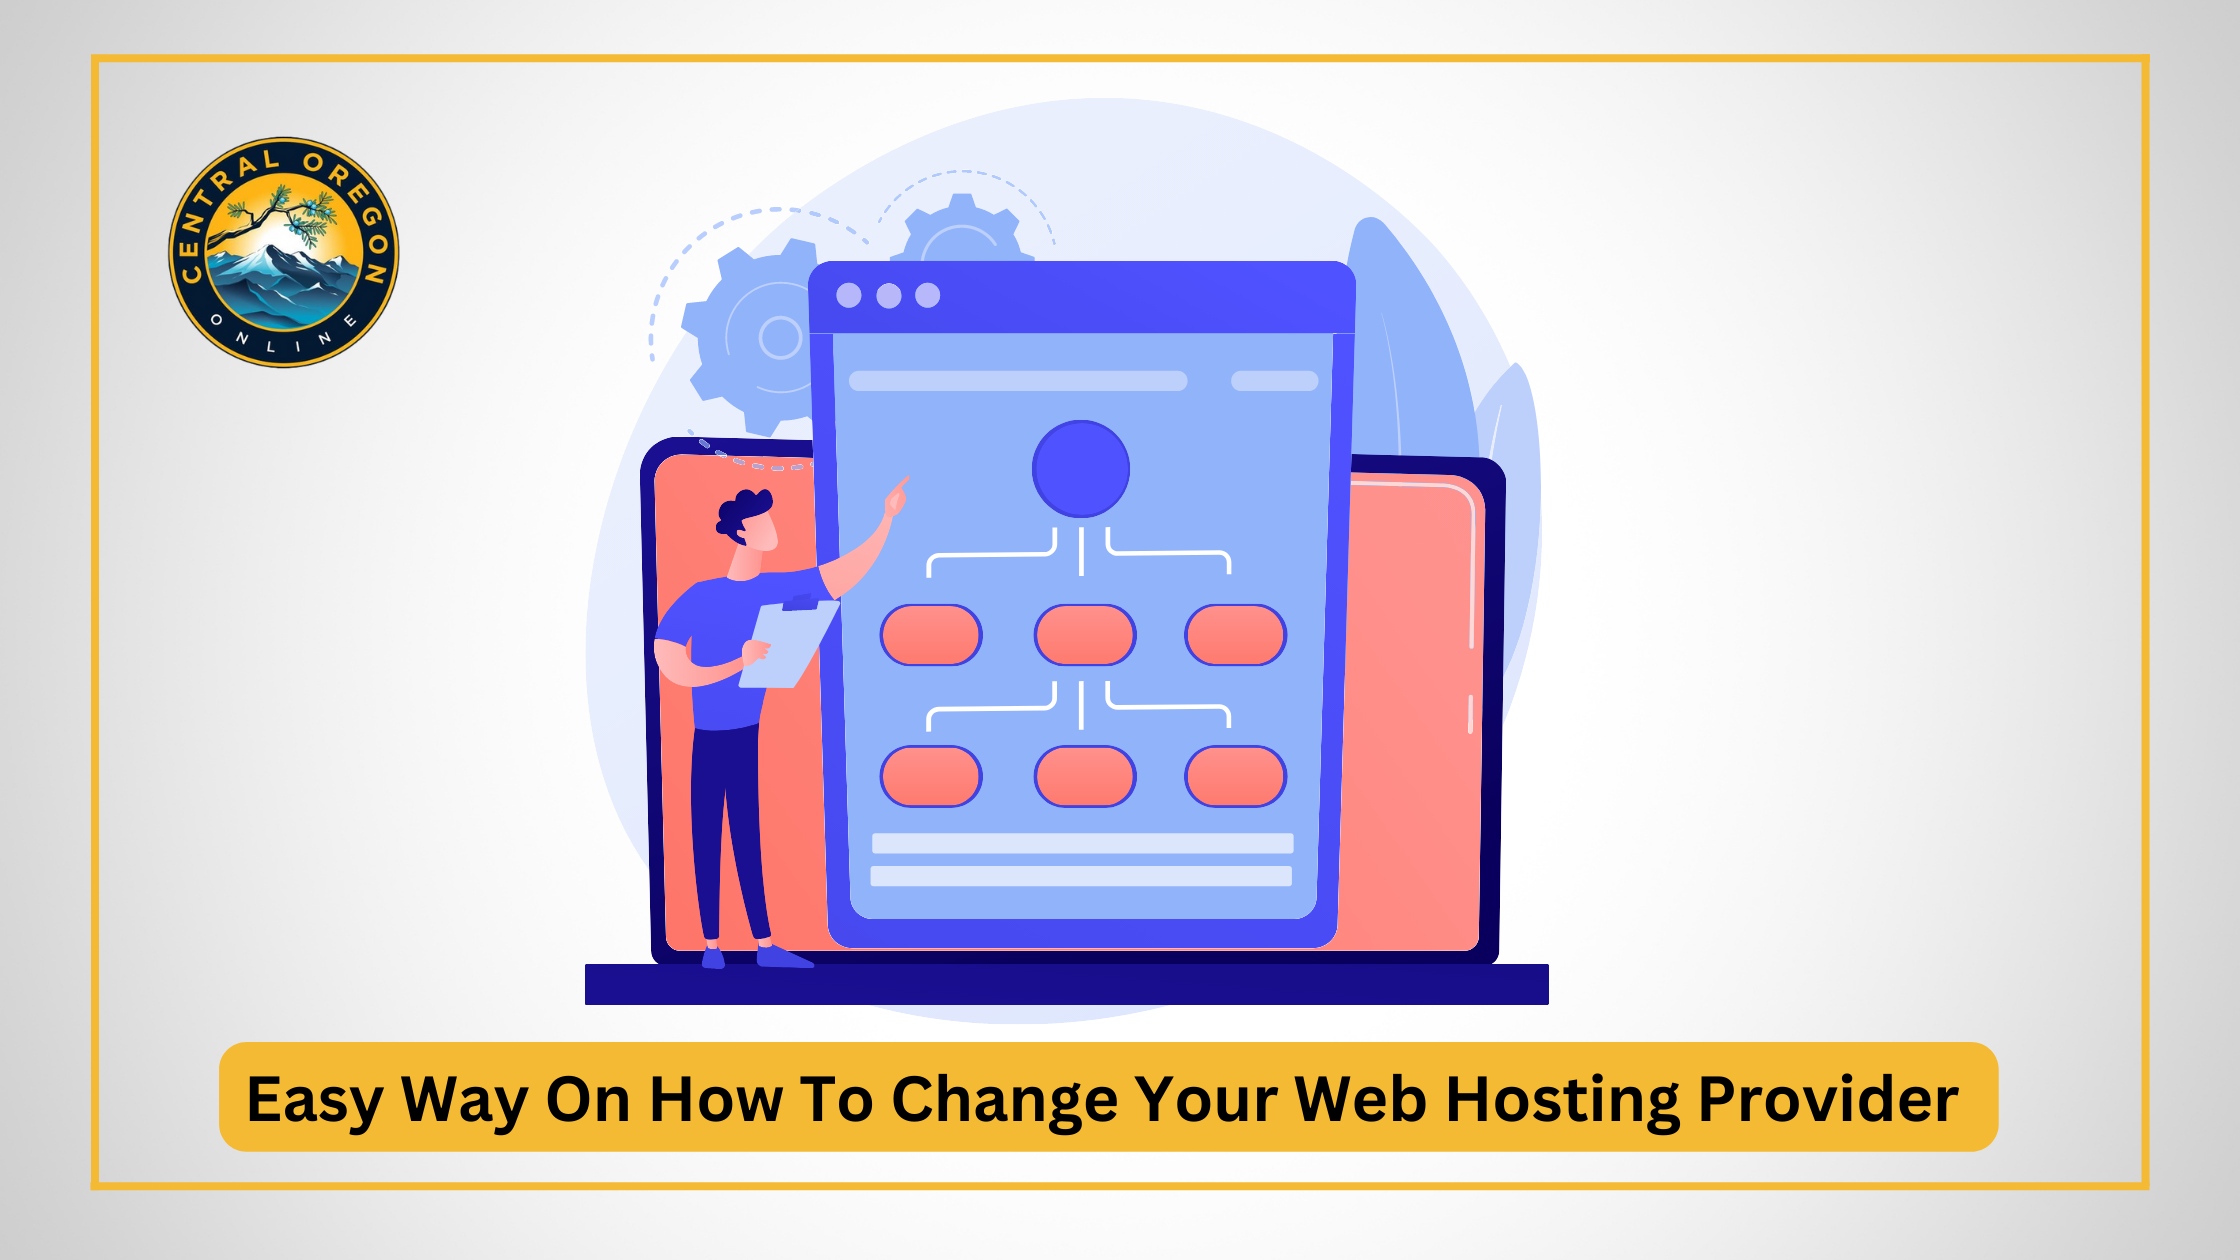
Easy Way On How To Change Your Web Hosting Provider
It can be difficult to determine how to change web hosting providers. Nevertheless, there are several justifications for doing so.
Your website’s safety, load time, and backups are all affected by the hosting environment you choose. Plus, there are a wide variety of web hosting services; pick the one that best suits your requirements.
If your current service provider is no longer meeting your needs, it’s time to look elsewhere.
To what extent does one need technical expertise to successfully transfer a website from one hosting provider to another? This review will focus specifically on those points.
Ready? Then, let’s get moving!
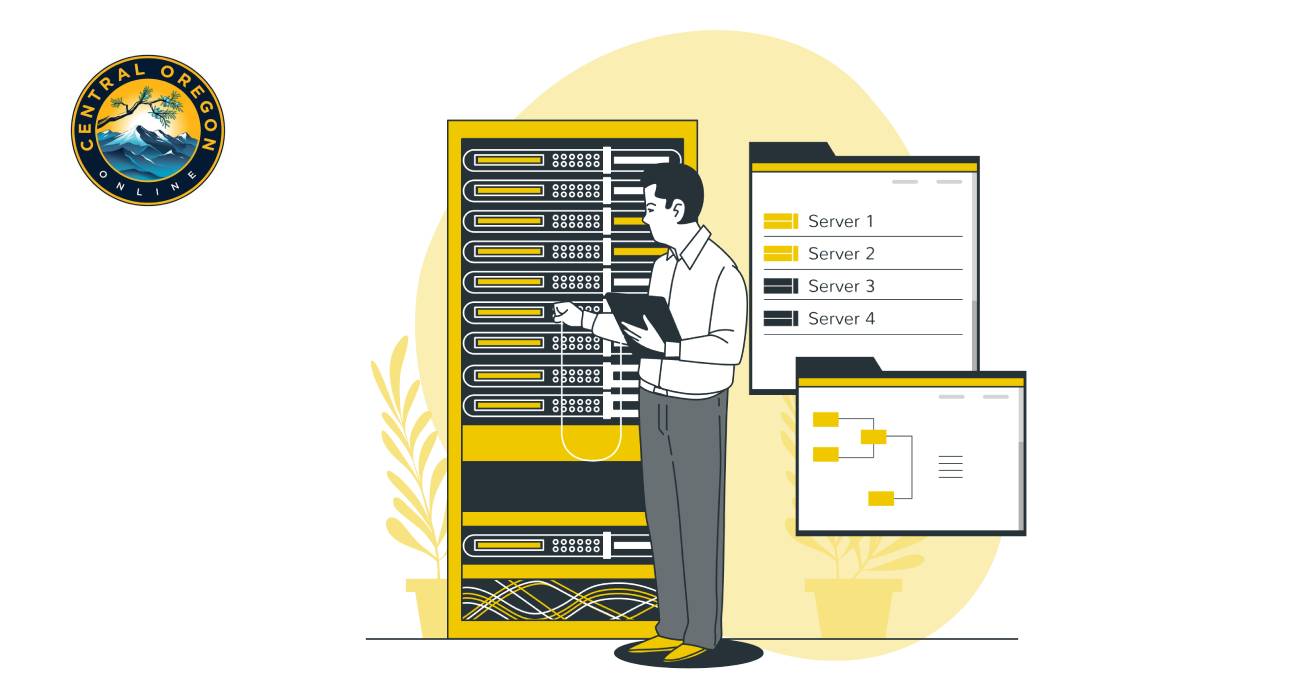
1.Find a New Host
Only after you’ve settled on the ideal hosting service can you begin the migration process.
There is no universally applicable recommendation that can be made among the plethora of hosting companies available, as each has its own set of advantages and disadvantages and is tailored to the specific needs of its clientele. When shopping around for a new hosting service, it’s important to compare not only prices, but also uptime, loading times, customer service, and server diversity. If you need a web host, check out our page devoted to the best web hosts of 2022.
-
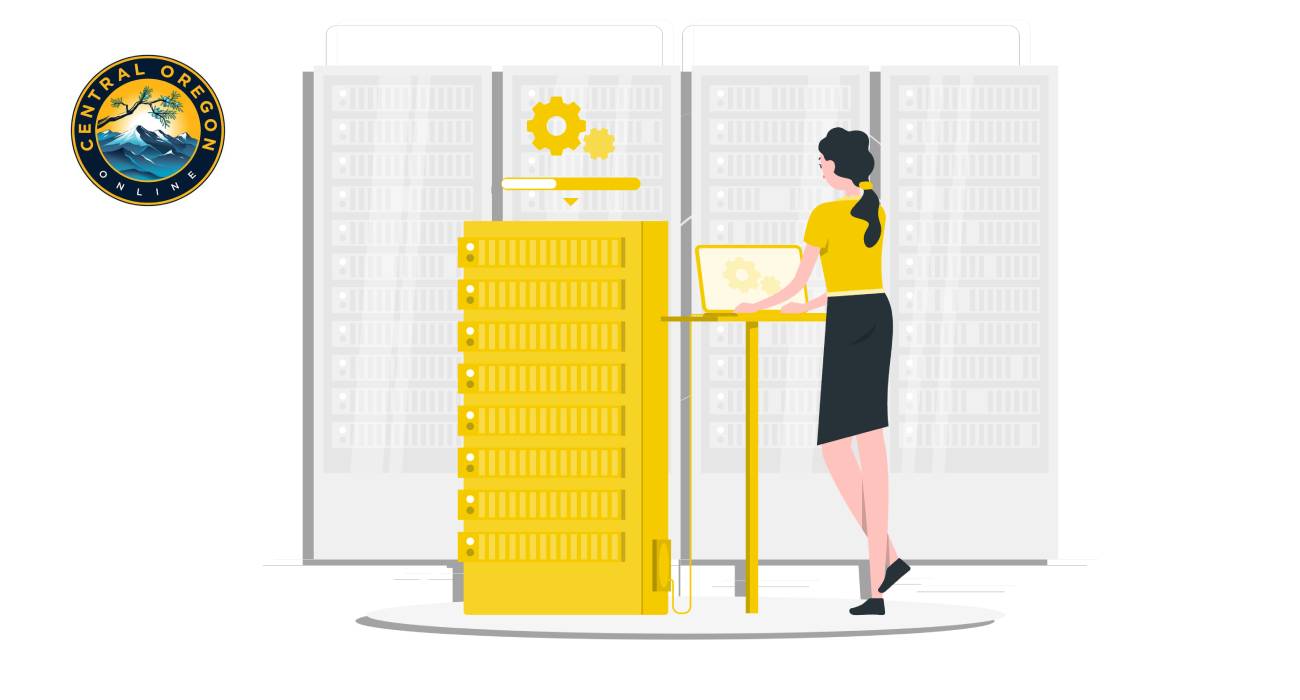
Use a service or conduct a manual migration.
Your strategy for switching web hosting providers will differ depending on whether you intend to handle the migration process on your own or not, as was mentioned earlier. A free hosting migration tool can connect to the database on your old site and move the information to the new host.
The manual migration process is more complicated and may be difficult to follow for new users. Let us guide you through the process of moving your website.
-
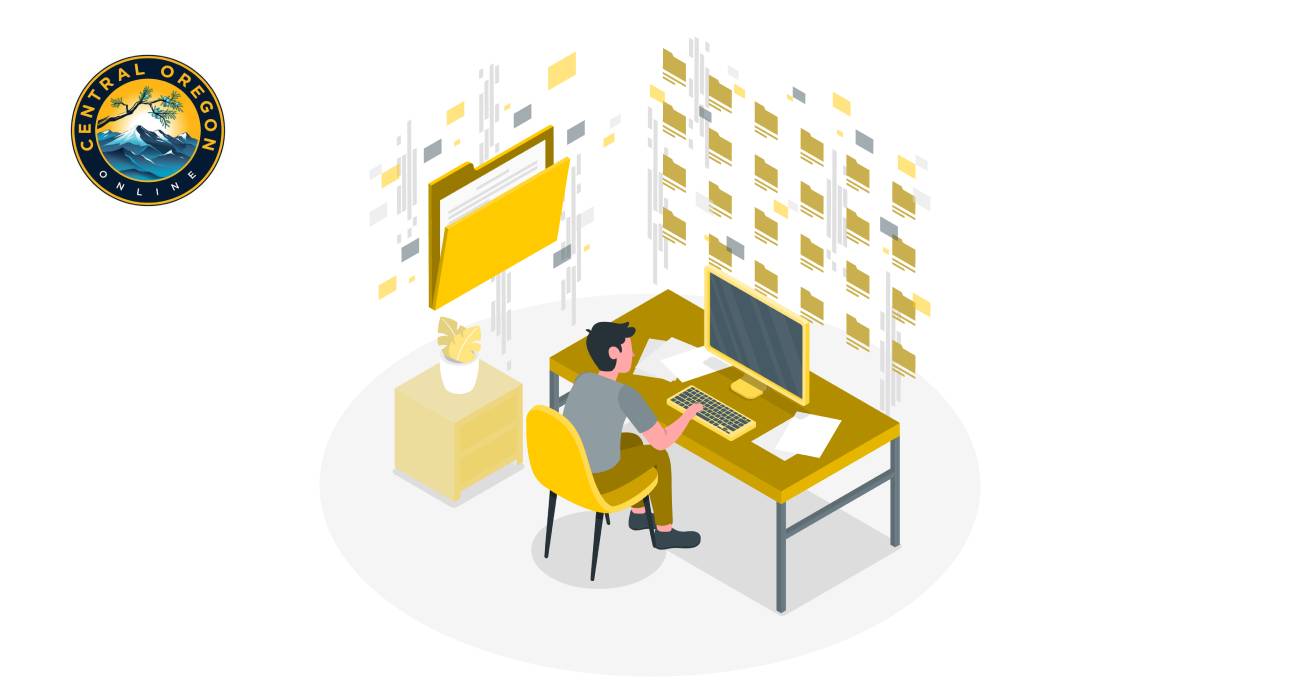
Before migrating, make a backup of all documents, email messages, and databases.
Your website’s database, along with any associated files and email, should be backed up in its entirety prior to initiating the migration process. However, while you shouldn’t encounter any problems if you follow our guide, it’s better to be safe than sorry. If you have a recent backup, you can start the migration process without worrying about losing any of your data.
There are five stages to a website migration, not counting the time spent backing up your database, emails, and files. Your database must be downloaded to your computer first. The data you download can then be uploaded into a database you set up with your new service provider. However, before you can import your exported database, you’ll need to make some changes to the config.php file in there to get it ready for your new host.
Then, you can transfer your files and updated database to the new host. Even though this appears daunting at first, it’s actually quite easy if you take your time, plan ahead, and create full backups. But if you’d rather let your new hosting service handle the change, automated migration is still a simple way to do it.
-
Modify DNS to point to the new host.
Now that you have your new host set up, you can change your domain name system (DNS) over to use their servers instead of your old ones. Transferring your domain name to a new host should be a simple process if you registered it with your current host. It’s possible that you’ll need to switch between service providers multiple times.
If you registered the domain name on your own, however, you will need to update your site’s name servers to reflect your new hosting provider. Where you register your domain has an effect on this procedure. A new hosting account should have the desired DNS settings.
Your site’s DNS settings can be verified with the help of services like IP/DNS Detect, What’s My DNS Server, and What’s My DNS. Your site will continue to be accessible through the previous DNS for at least the next day or two while the changes are being made.
-
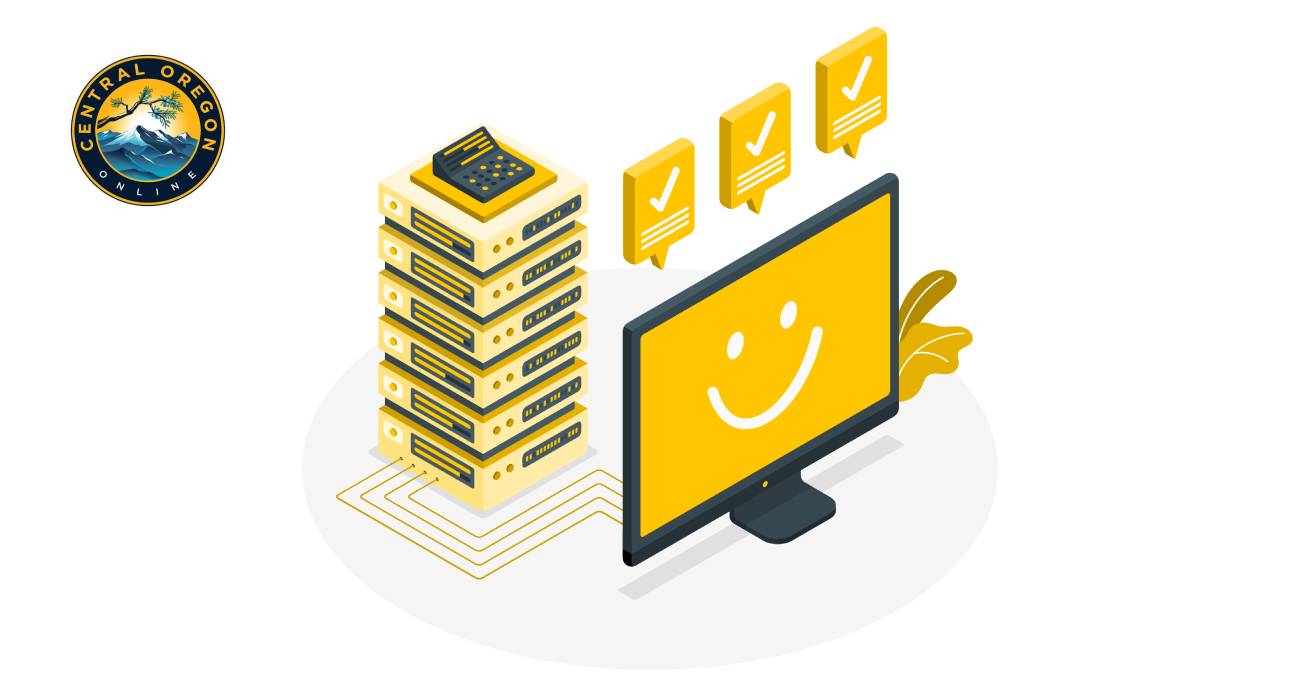
Carry out final QC/QA
When the procedure is finished, be sure to test your site thoroughly. To avoid further complications, it’s best to check for migration-related issues as soon as possible and resolve them before canceling the old hosting account. The data you exported prior to the migration should also be saved.
Prior to moving anything over, make sure every old page can be reached at its previous URL. There should be no discrepancies between the new site and the old one, including the page count, database size, and number of files. You may want to use a link checker after you’ve moved your site to see if any of the links are broken.
It’s also possible that your host has inserted some code into your site that is unique to the way they do business. For example, if they are to blame for your advertisements, you will have to get rid of any code that they may have added. Last but not least, double-check all of your scripts and paperwork to make sure nothing is missing. If you aren’t certain that everything is in order, then you shouldn’t revoke your old hosting account.
-
Deactivate the old hosting account.
With your site successfully transferred to your new host, you can terminate your old hosting plan without fear of any negative consequences. Do this right away so you don’t have to pay any extra fees.
It was previously mentioned that you should always have access to your backup files in case of any unforeseen complications. Despite the fact that you should not have found any major issues throughout your final inspection, there is always the possibility that something will surface later on.
If you’re looking for a reliable web hosting service in Bend Oregon, then CentralOregon.Online is the place to be!
Our hosting services are designed to help you get started on the right foot with your new website or blog. We offer a number of packages, as well as premium features like SSL certificates and dedicated IP addresses. You can choose from shared or VPS hosting plans, depending on your needs.
With CentralOregon.Online, you’ll never have to worry about downtime again. Our cloud-based infrastructure ensures that your website will always be online, even during power outages or natural disasters that may affect local availability of electricity. We also provide 24/7 support via phone, email and live chat—so no matter what time it is you can get help whenever you need it!
CATEGORY:Blog